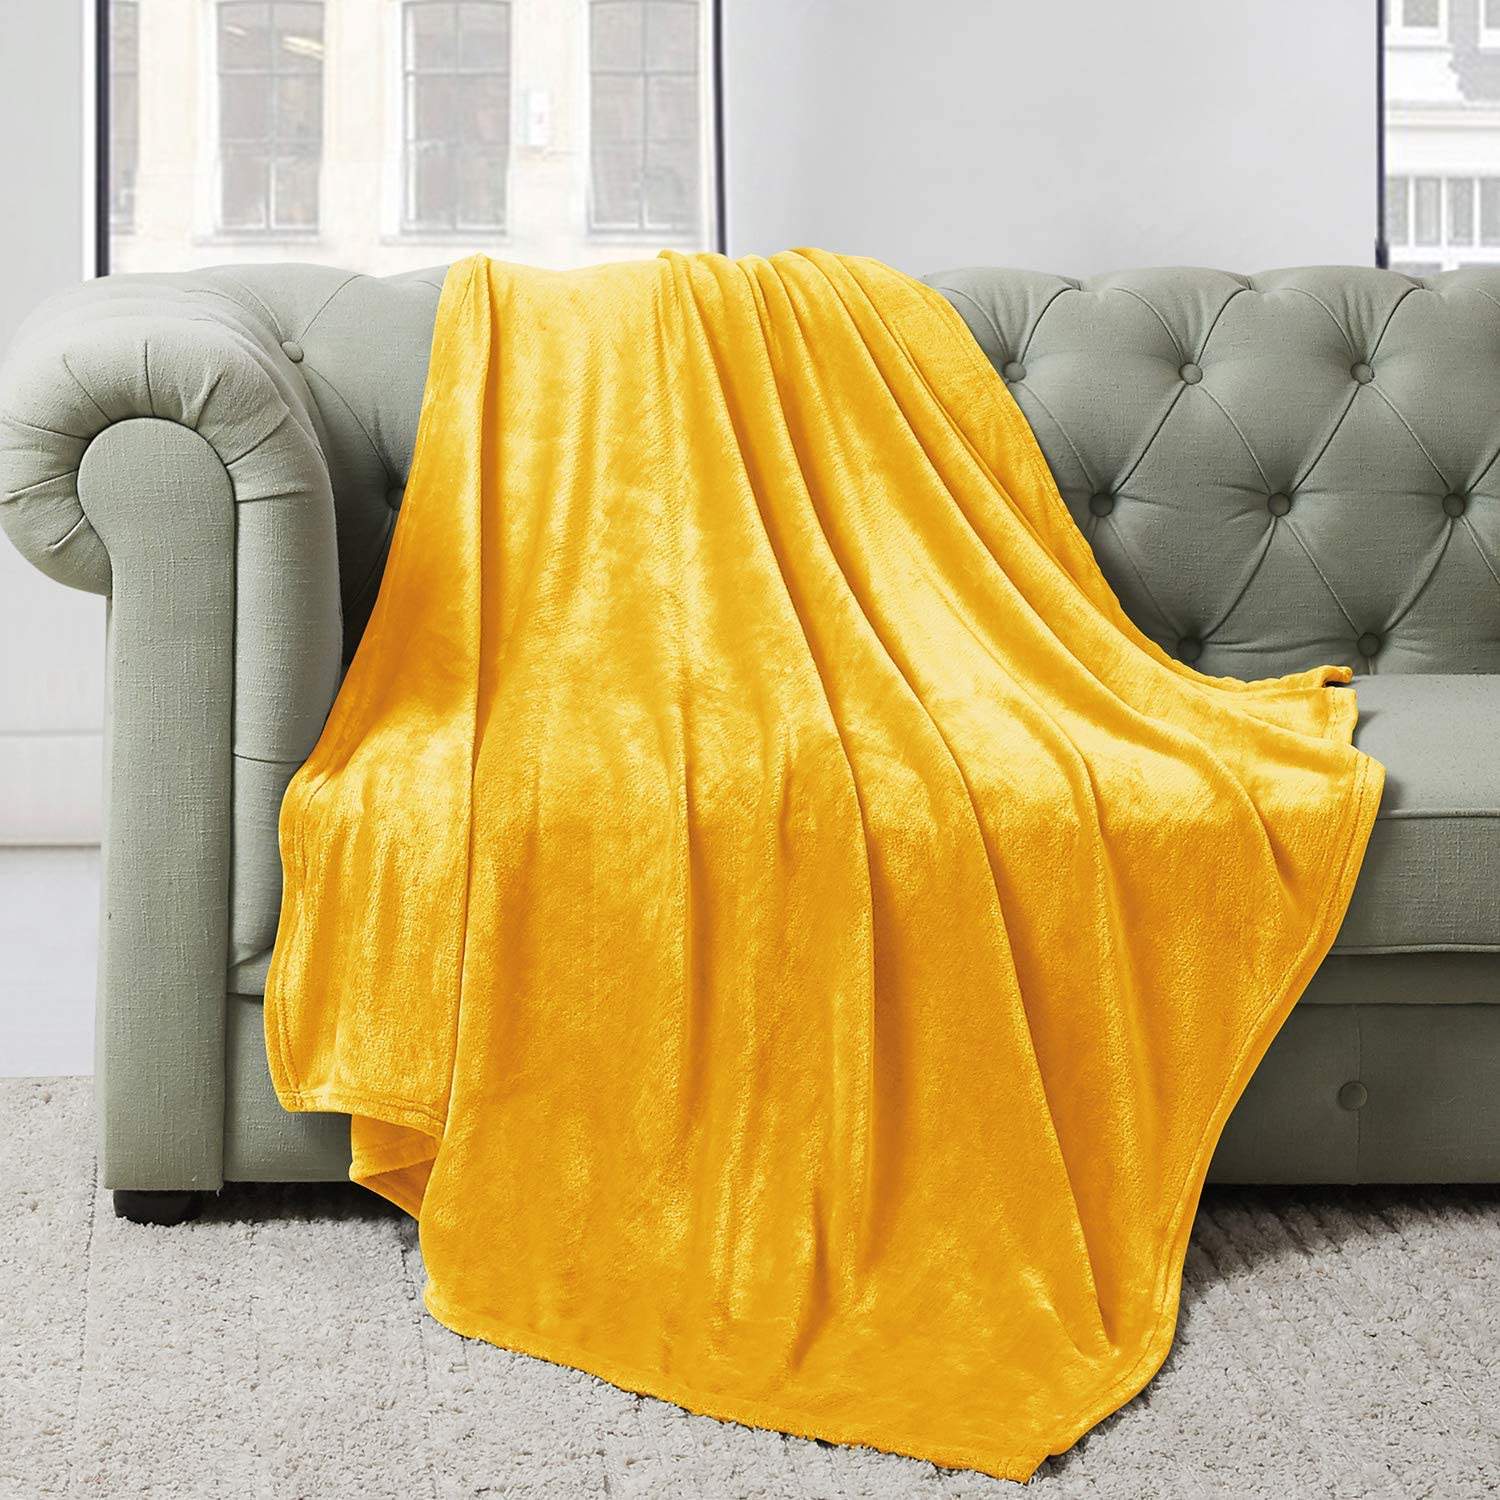
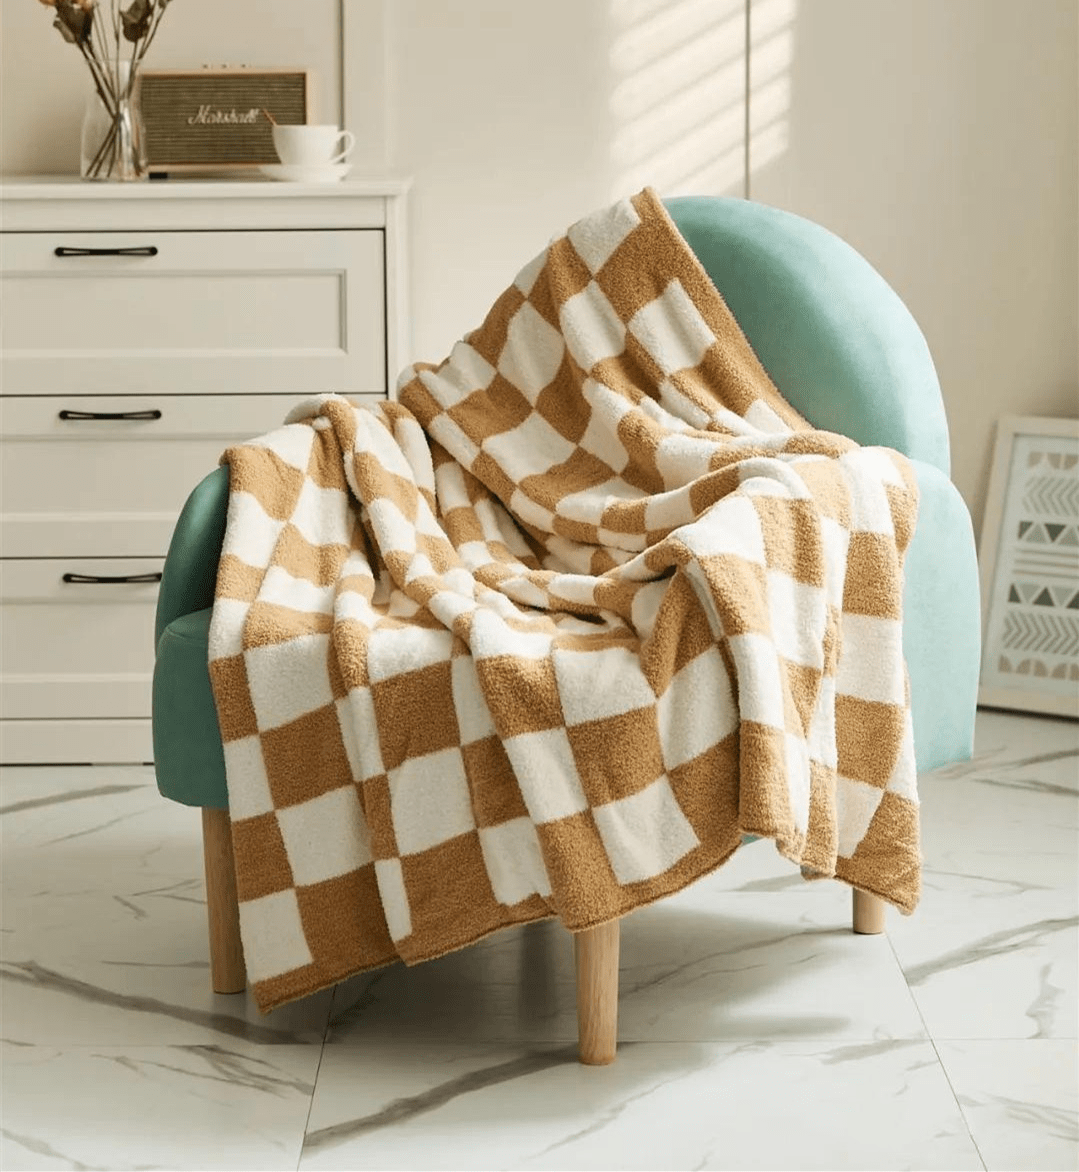
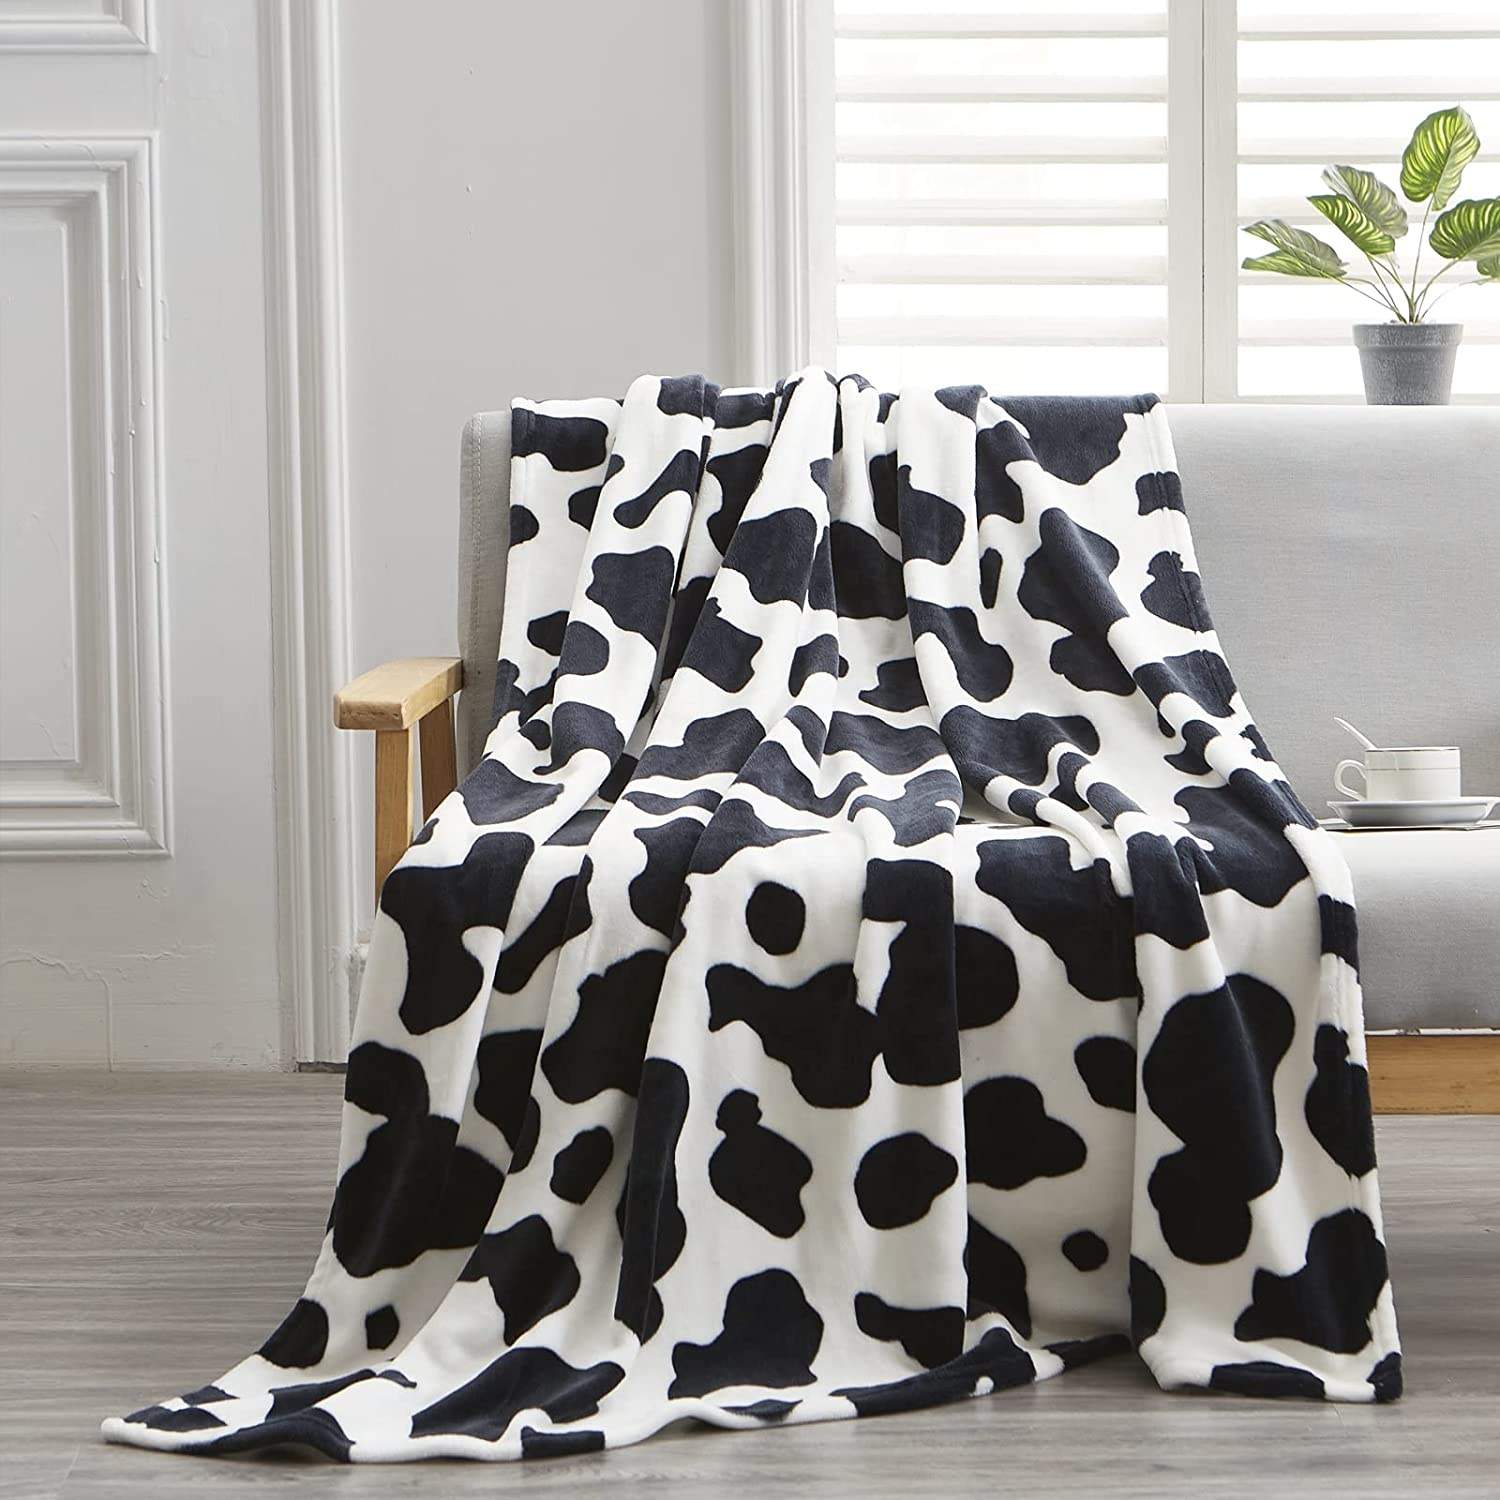
The process of flat-screen printing and dyeing for blankets involves several distinct stages to ensure the desired aesthetic and functional qualities are achieved. Here is a detailed overview of the process:
Design and Preparation
Begin with the design of the desired pattern. This can be done using computer-aided design software.
Convert the design into a format that is recognizable by the flat-screen printing machine.
Prepare the blanket material, ensuring it is suitable for the printing and dyeing process.

Screen Fabrication
Based on the designed pattern, create a screen (stencil) through chemical processing.
Ensure the screen is free of defects such as sand holes, missing patterns, or water stains.
Blanket Preparation
Select the appropriate blanket material.
Pre-treat the blanket, which may include washing, bleaching, or initial dyeing to enhance absorbency.

Color Preparation
Select and prepare the necessary dyes or pigments based on the design requirements.
Mix and adjust the colors to achieve the desired shades.
Printing process( it will including several color of blanket pattern)–please check the video
Load the screen onto the printing machine.
Adjust the machine settings to achieve the desired print quality.
Place the prepared blanket onto the printing table.
Apply the dyed or pigmented ink through the screen onto the blanket, creating the desired pattern.
Drying and Fixing
After printing, dry the blanket to ensure the ink is properly set.
Apply heat or other methods to fix the colors permanently onto the blanket material.

Quality Control
Inspect the printed blanket for color fastness, evenness of prints, and any defects.
Check for any shrinkage, strength, or durability issues that may have occurred during the process.
By following this comprehensive process, flat-screen printing and dyeing can be used to create beautiful and functional blankets that meet the desired standards.
